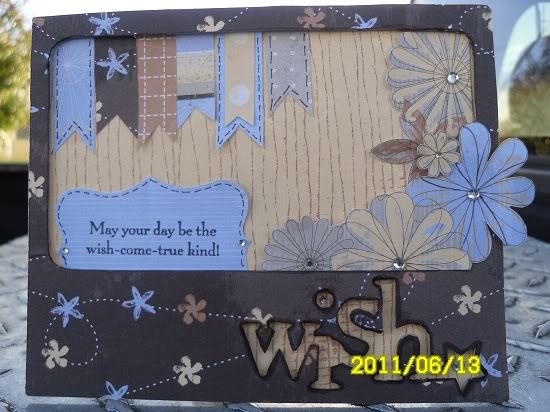
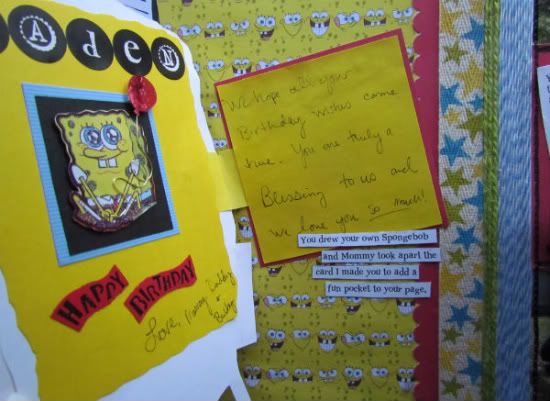
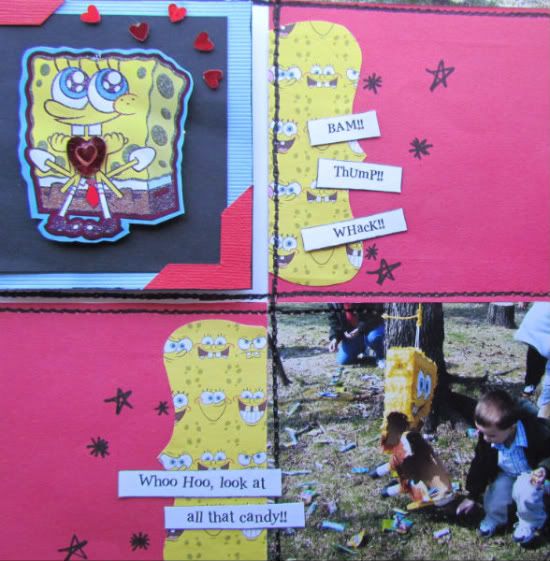
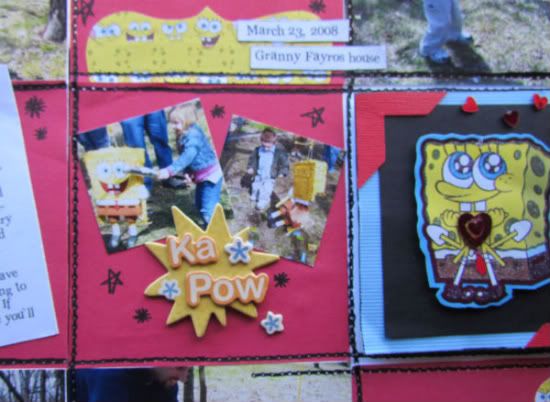
Here are the 2 cards I made form the card sketch @
sketchsupport:
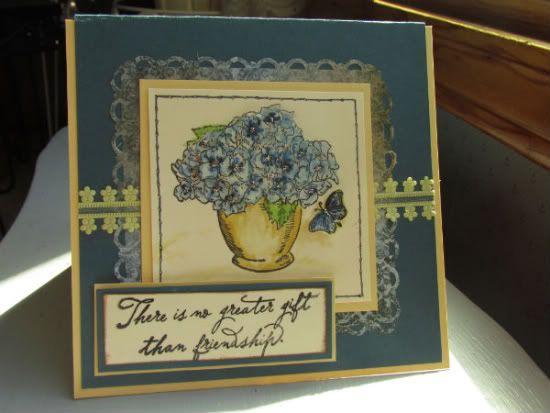
"Friendship" card by Amy Roller
Supplies -
Cardstock: Stampin Up!;
Stamps: Stampin UP!, Close To My Heart;
Ink/Markers: Archival, Stampin Up!;
Blender pen: Stampin Up!;
Patterned paper: unknown;
Ribbon: Micheals,;
Glitter Accent: Stickles (Patina)
On this card I made everything 1" smaller because of the size of
cardstock I was starting with. I layered my cardstock, paper and ribbon
as follows: yellow/blue/pattern paper/ribbon/yellow/white and also used
a border punch on the pattern paper piece. The ribbon is another
variation instead of a striped paper.
I decided to use stamps directly on the layered cardstock rather than
add a 3D embellishment and I used flowers and a butterfly instead of
stars and swirls. Next I stamped my images and then colored them using
five different colors. I then blended them with a blender pen to create a
water colored look. I also added in some shading around the bottom of
the pot and butterfly.
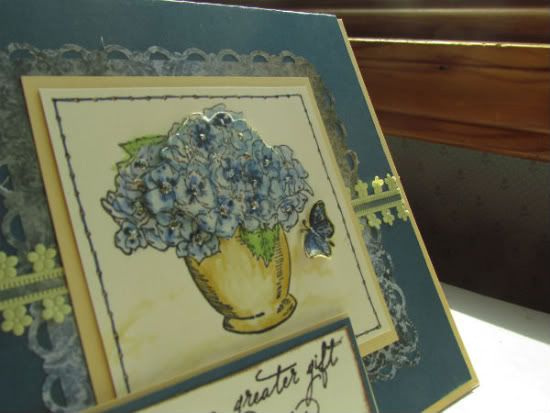
I stamped the flowers twice and colored the second image as well them
cut out just a portion of the flowers and popped them up on top of the
first image to add depth and detail.
Next I added Stickles to the center of each flower.
Last, I stamped my sentiment and matted it as well, placing it in the bottom left of the card.
This next card, was so easy and is one of my favorites!
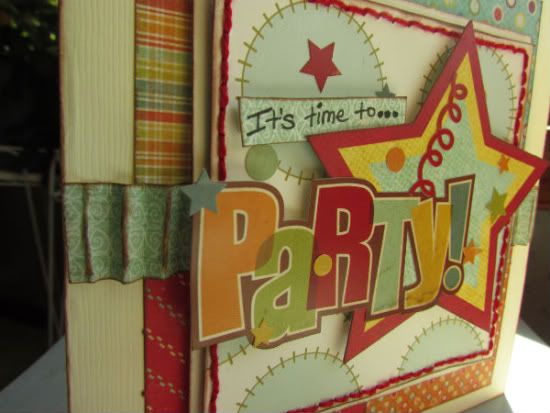
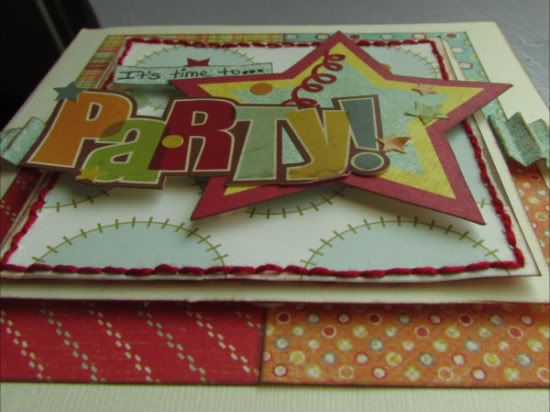
"It's Time to Party" card by Amy Roller
Supplies -
Cardstock: Bazzill;
Patterned Paper: My Minds Eye, Bella Blvd;
Embellishment stickers: Simple Stories, My Mind's Eye;
Other: Thread
I followed the measurements for this one and placed my patterned squares
and then followed with a solid pattern instead of the stripe shown. I
felt it looked to busy with a stripe but wanted to have the same effect
so I did an accordion fold across the strip before I stuck it down.
Next I placed the solid cardstock and another pattern.
I then stitched around the edges of the top square and added my large
star embellishment. I hand wrote "It's time to..." on a piece of
patterned paper and placed it next to the star with pop dots. Then
added the "PARTY" sticker below it as well as confetti and other mini
star stickers . I popped this layer up as well to add dimension.
That's it for this week, next week will be 2 page layouts! Come back to check them out!
Don't forget to head on over to Sketchsupport to see what everyone else has done with the sketch as well!