Showing posts with label card sketches. Show all posts

Wednesday, November 23, 2011

LONG TIME COMING..or maybe going..

Ok I have to say that I have been missing in action lately.  My boys have both been ill and are having to have breathing treatments every 6 hours right now so I haven't tried to post this week..however, I HAVE tried numerous times before that these last few weeks and it would show my post in blogger and just keep saying it was saving..saving.. saving.. and NEVER post!! I have had things to update but got so furious I just gave up.  Then the boys got sick, so FINALLY this week it appears blogger likes me and it posted!!!   YAY!!

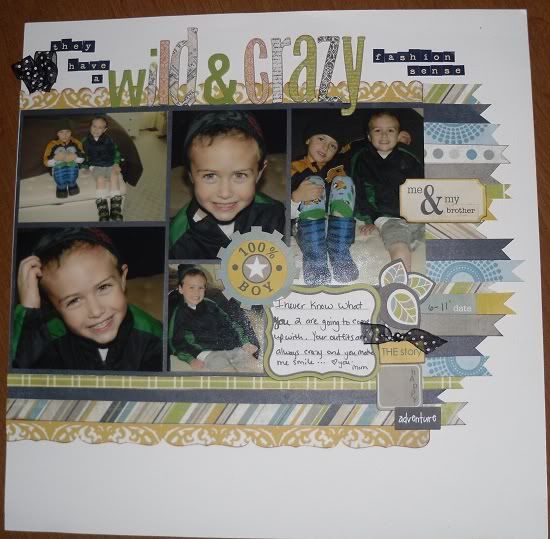
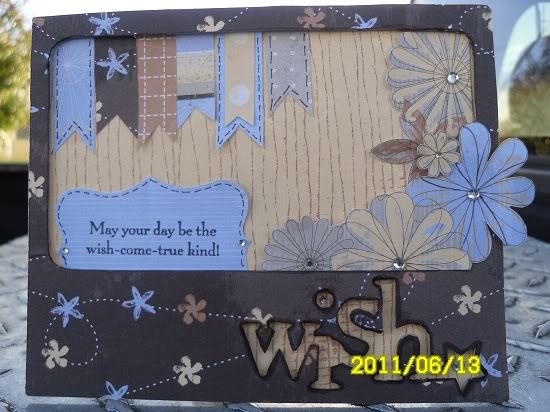
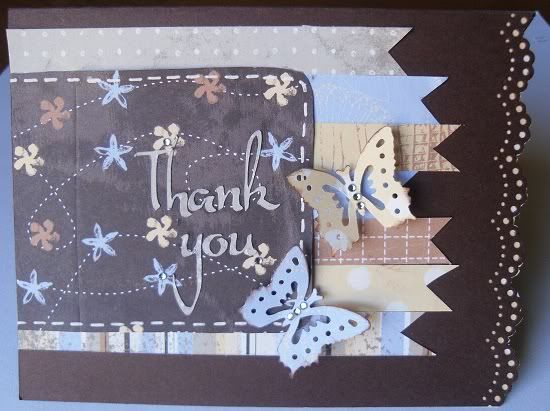
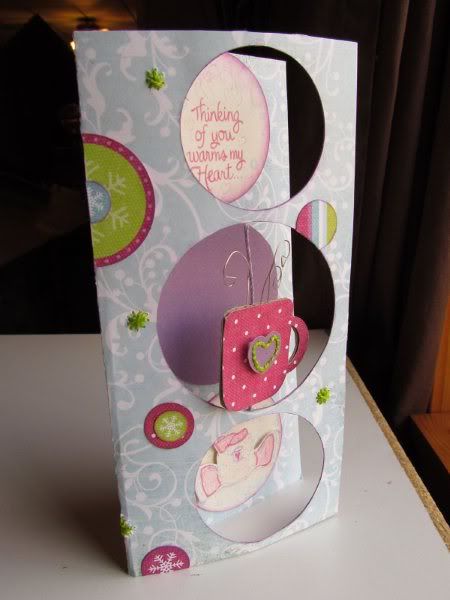
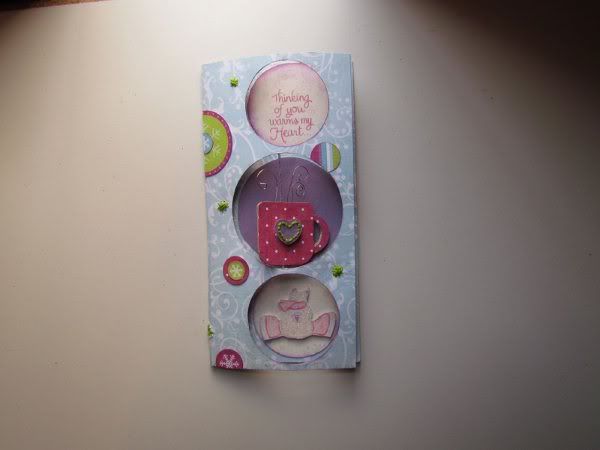
Because I am so far behind, I am going to post just pics of my recent Sketchsupport stuff and then I have an announcement.
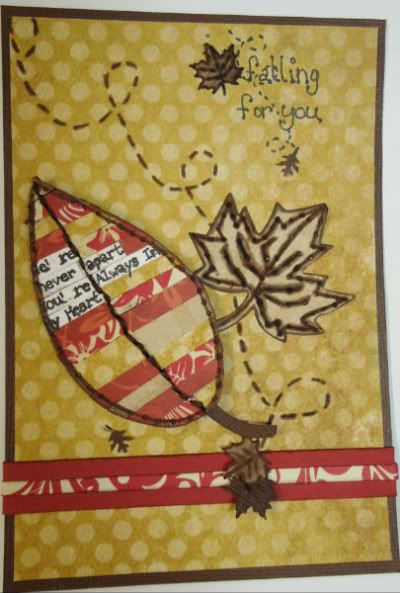
Please ignore date on this..it is way off and i didn't realize the date was on the picture b/c it doesn't show up on the camera! I would have taken another one but i had already given it away before I posted it.
All these are from sketches by Allison Davis and the original sketches can be found here: just click on card sketches.  NOTE** The last 3 are from the same sketch!!

As for the announcement, I want you to know that I have decided I will not be reapplying for the Sketch support Design Team again this coming year. As a matter of fact, the team call ends today..if any of you are planning on giving it a shot : )

I LOVE sketchsupport and have had a great time this year and Allison has been GREAT to work with.  I will certainly be following along this coming year.  I plan to keep doing sketches and posting my projects here as well.  I thank all of you for "following" me and hope to keep up my blog better this new year. (That's actually 1 of my new  years resolutions  LOL : )  I guess you could say "my cup runneth over" this year and not always in a good way. I have been so busy that I have not been able to spend time with my kids like they deserve and I want that to change. I am hoping that by changing some of things that I currently do that come with deadlines and extra responsibilities, we can spend more time together. And who knows, maybe even have a few more photo opportunities for those scrapbook pages. (*wink*wink*)  I can't wait to see the new sketches this year and see who makes the team.

Thanks again for being patient when there have been a lack of posts and know that I never forget you..sometimes blogger is stubborn and posts are late, and sometimes I'm just enjoying life and will tune in soon with a scrapbook page to share it with you.


Wednesday, June 1, 2011

card sketch week @ SKETCHSUPPORT

This week is card sketch week at sketchsupport.  I turned it into a wall hanging instead, but be sure to check out www.sketchsupport.com to print out the sketch for yourself. The pics on the site were really blurry and I'm not sure what's up with that -gotta love technology!  : (  but hopefully these will be a little better!


Wall Hanging by Amy Roller
Supplies - Patterned paper: My Mind's Eye, Stampin UP!; Waffle paper: Stampin Up!; Ink: Colorbox; Stamps: Stampin UP!; Marker: Stampin UP!; Metal charm: BoBunny; Stitching thread: DMC; Rhinestones/Pearls: Close To My Heart; Embossing folder/machine: Provo Craft; Punches/Dies: Sizzix-Stampin Up!, Martha Stewart

I started out going to make a card and just make it bigger and one thing led to another and the end result was a wall hanging. I don't have exact measurements on each piece because none of the background papers were on the sketch anyway, so I just layered as I went as far as that goes.


I stuck with the three "blocks" on the first layer but because of where the dragonfly was, I flipped the embellishments to the other side of the sketch. I hand cut several designs from the paper itself and used that as most of my flower/leaf embellishments. I also added a butterfly charm that matched perfectly. I added an extra butterfly and accented them with rhinestones and pearls. I did the same with the flowers.

I hand stamped the sentiment and then added little dark dots all around the card in highlighted areas with a marker. This helped create the movement shown in the stamped/embossed images and gave each area continuity and a better flow.


I used a strip of kraft chipboard to run through my Cuttlebug to emboss it with the "dots" folder and used it as my solid strip over my stripe. I then added a stitched border around this piece.

Next I added another layer of cardstock underneath the first and inked the edges then curled and roughed them up. I repeated this for a total of four layers, stitching around each one as well. I wanted this to have a very earthy, handmade feel to it, so nothing is exact and the stitching isn't perfectly straight. (This was hard for me. Everything in me was screaming, "Oh I need to redo that, how am I going to take this whole thing apart and re-sew if it's not straight!" I like things "square to the world" as my daddy says, so this was hard for me to leave alone. Even so this was a challenge to myself to make something I don't normally do, to step out of the box so to speak, not too far out of it I'll admit but out of it in any case.)

Saturday, February 5, 2011

Jillibean Soup Challenge

This month over at Sketchsupport we were challenged to use only the Jillibean Soup supplies we were given and create a project from a sketch.  This week was the card sketch and here's my card. If you want to check out the sketch used and see everyone else's awesome examples..head on over to sketchsupport !

Sunday, January 23, 2011

Card & Add-on Sketch

This is my card I made using Allison's card and add-on sketches from Sketchsupport.  To see the actual sketches and other projects using them, go to sketchsupport and use the quick guide on the right or any of the categories listed at the top of each page.
This is the actual add-on embellishment I made.  It Spins!!