Showing posts with label 1 photo. Show all posts

Tuesday, May 17, 2011

Buttons, Buttons, and more Buttons!!

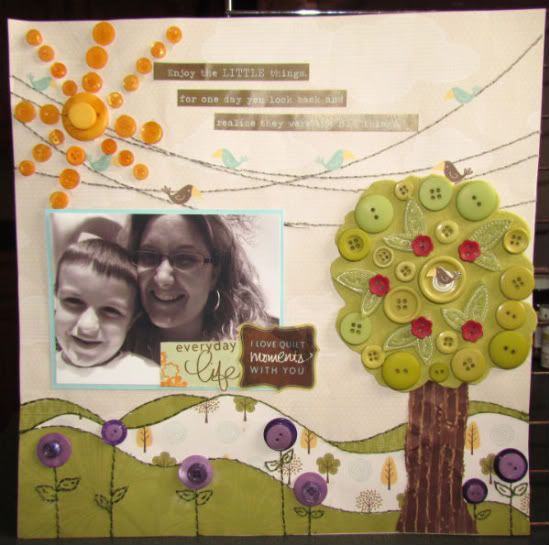
This is the add-on sketch this week over at Sketchsupport and I decided to make mine a LO.  This is what I have this week...
"Enjoy the Little Things..." by Amy Roller
Supplies - Patterned paper: Stampin Up!; Cardstock: Coordinations, Stampin Up!; Buttons: Papertrey Ink, unknown, Scrapbook Generation; Felt Leaves: Stampin Up!; Thread, Sticker Embellishments, Felt: Papertrey Ink; Embossing Folder: Provo Craft, sanding block

I decided I wanted to make a LO with this add-on, so I made the tree bigger to fit the area. To start off the page, I hand cut a tree top shape out of felt. Then I used different sizes and colors of buttons to fill the shape. I also added felt leaves and little red flower buttons. I used a white lined button in the center of the tree to look like a nest then added a bird cut from the patterned paper.
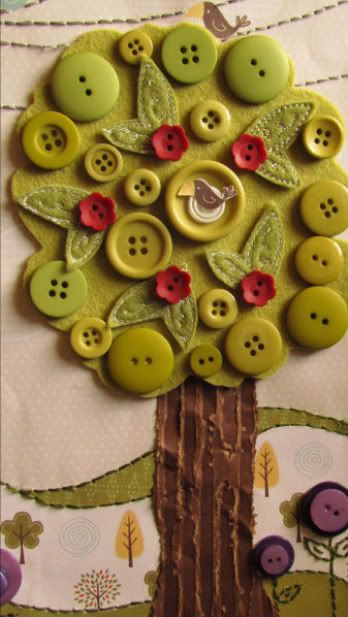
For the trunk of the tree, I ran cardstock through an embossing folder to add texture and then sanded it down. It is different colors on each side, so that when you sand it you see both colors. I just cut it into a trunk shape.

The paper had an existing power line that the birds sat on and I stitched along it to add more detail. I decided to carry out the button theme and also made a sun out of buttons to help fill the page.
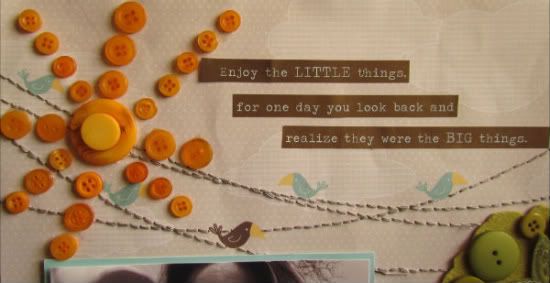
 

 I cut a sticker sentiment into strips and added it to the top of the page.

For the bottom of the page, I hand cut "hills" out of patterned papers and then stitched along each one to help them standout.
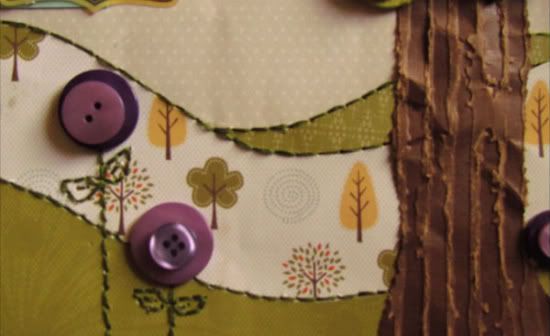

I then stitched stems for flowers that were also made out of two stacked purple buttons along the bottom of the page.

Last I added a matted photo with 2 sentiment stickers. I love how it turned out! Thanks for stopping by!


Saturday, May 14, 2011

He makes me smile!

This picture is so you!  You are a very expressive child and I never have to guess what mood your in..it's always written across your face.  You thoroughly enjoy life and remind me to do the same!

Love,
 MOM

Thursday, March 24, 2011

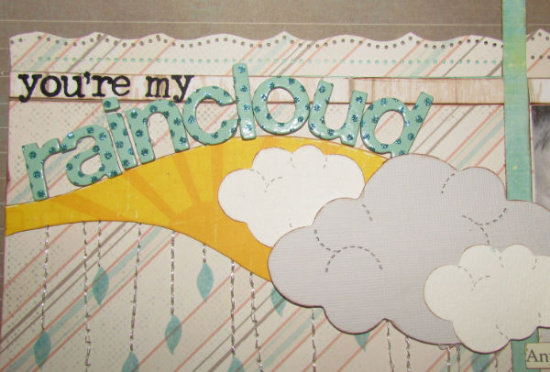
My little sunshine and raincloud

We have a inside joke/song around here..Mason is my sunshine and Caden is my raincloud.  We even have a "raincloud" song that is it's own version of the "sunshine" song.  This weeks 1 page sketch at sketchsupport is the sketch I used for both of my pages. 


 I had A LOT of journaling for this one and so I added a full page of hidden journaling that pulls up and out at the top of the page.

Friday, February 18, 2011

Add-on week @sketchsupport!

This week is add-on week over at sketchsupport and this is my take on it.
Supplies - Cardstock: Bazzill; Stamps: Close To My Heart, Stampin Up, and unknown; Rub-ons: Close To my Heart, Basic Grey, and Stampin Up!; Watercolor crayons: Stampin Up!; Ink: StazOn; Paint: Making Memories; Other: Stampin Up! die, Glimmer Mist, 

For the February add-on sketch, I decided to build my whole page around it. It started out as a frame for my picture and grew from there!

I started by first taking my 5" x 7" picture and some water and rubbed/sanded away part of the photograph to leave a distressed white space around Mason. This is a great way to use photos that have something distracting in them that may otherwise cause you to not use them or even toss them! 
 

I then stamped a sentiment and stamped off the edge of the picture to add a few vines creeping onto the blank area. 
I didn't stick the photo down until the layout was almost completely finished, I just tacked it down in the general area so I would know where to place the words as I went. I also stamped the vine and butterflies up the edge of the page to create a border. Next, I stamped phrases in random areas and built on that with rub-on words and more stamps. 
I made sure to use StazOn ink so that none of it would bleed or run on the next step.

I punched holes for his name, a few flowers and a heart so that I could stitch them after the background was finished.

Because everything was done in the same colors I knew I wanted to do a "whitewash" effect over the word background to add a little more color. I mixed some paint to match his eyes and then watered it down and then brushed it across the layout. I had to let this dry overnight.

Next I used watercolors and traced the vines with green and blended it with my fingers. 

After this was done I stitched all the previously punched areas in purple for another pop of color. Then, I began cutting out around the vines up the outer edge. I tore all the edges of the paper and then added it to another purple background and tore those edges as well. 
 I did this one more time with a black cardstock that I also spritzed with silver Glimmer Mist to add a light sparkle. Finally I placed all the previous layers together on the original colored cardstock and painted the edges with purple paint.

Last but not least, I used a die to punch out lots of little butterflies and added them throughout the page on top of many of the stamped butterflies along with rhinestones in the center of each stitched flower. I also added one larger mesh butterfly just under the picture.

Thursday, February 17, 2011

I hardly ever do 1 page layout unless I have a challenge or sketch deadline but this one I did for me and I really like how it turned out..I love layers lately!


This one is Cadens' first snow..he didn't care for it much!  Love those faces.

Sunday, January 9, 2011

New layout pics and a winner

First off today I am going to share a few of my pages and then I will announce the giveaway winner at the end.  These are a few of my layouts I wanted to share and as you can see, I don't scrap in order anymore.  I used to but find I enjoy it much more to go with what I feel at that time..and work with pics/papers that I have at that time that work good together.  The first one is of my oldest son...I know, I know, it's pink and girly but when you have all boys, you get creative on ways to use pink,flowers,bling etc! Thankfully my hospital gown was pink and he just had that fresh newborn pink glow...oh how time flies.

Some of these pages look crooked, but trust me..if you know me you know they aren't.  It just the way I had to take some of the pics!  I am known for needing things "straight with the world" as my father says.  : )


I absolutely LOVE these little hat brads..I added them to the squirrel and title block


Last but not least, here's the giveaway winner....Christine Rantz
(Winner randomly picked by outside source)

Contact me by email..kroller@centurytel.net to set up prize info!
Be sure to check back in for more inspiration and giveaways...there may be a blog hop in the distant future and I am already putting together my next giveaway box!!( Yes, I did say box!)