Showing posts with label add ons. Show all posts

Wednesday, November 23, 2011

LONG TIME COMING..or maybe going..

Ok I have to say that I have been missing in action lately.  My boys have both been ill and are having to have breathing treatments every 6 hours right now so I haven't tried to post this week..however, I HAVE tried numerous times before that these last few weeks and it would show my post in blogger and just keep saying it was saving..saving.. saving.. and NEVER post!! I have had things to update but got so furious I just gave up.  Then the boys got sick, so FINALLY this week it appears blogger likes me and it posted!!!   YAY!!

Because I am so far behind, I am going to post just pics of my recent Sketchsupport stuff and then I have an announcement.
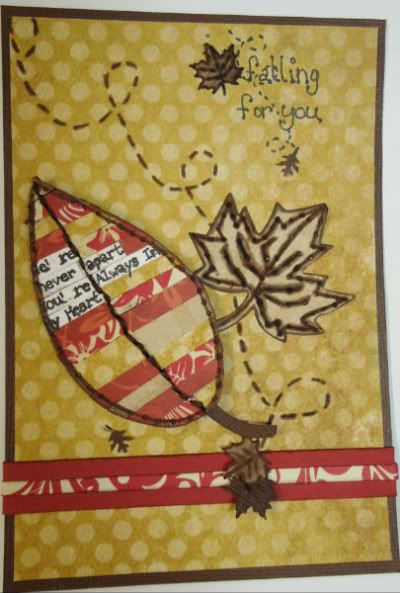
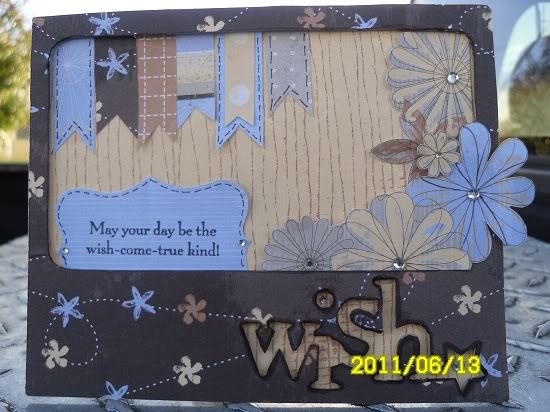
Please ignore date on this..it is way off and i didn't realize the date was on the picture b/c it doesn't show up on the camera! I would have taken another one but i had already given it away before I posted it.
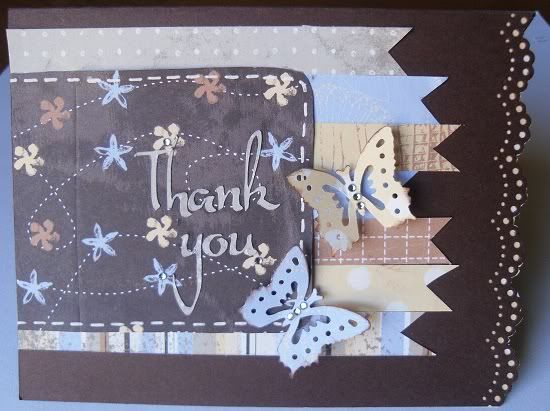
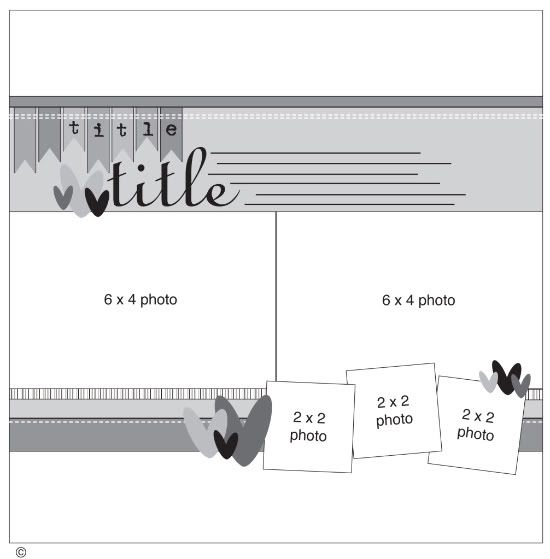
All these are from sketches by Allison Davis and the original sketches can be found here: just click on card sketches.  NOTE** The last 3 are from the same sketch!!

As for the announcement, I want you to know that I have decided I will not be reapplying for the Sketch support Design Team again this coming year. As a matter of fact, the team call ends today..if any of you are planning on giving it a shot : )

I LOVE sketchsupport and have had a great time this year and Allison has been GREAT to work with.  I will certainly be following along this coming year.  I plan to keep doing sketches and posting my projects here as well.  I thank all of you for "following" me and hope to keep up my blog better this new year. (That's actually 1 of my new  years resolutions  LOL : )  I guess you could say "my cup runneth over" this year and not always in a good way. I have been so busy that I have not been able to spend time with my kids like they deserve and I want that to change. I am hoping that by changing some of things that I currently do that come with deadlines and extra responsibilities, we can spend more time together. And who knows, maybe even have a few more photo opportunities for those scrapbook pages. (*wink*wink*)  I can't wait to see the new sketches this year and see who makes the team.

Thanks again for being patient when there have been a lack of posts and know that I never forget you..sometimes blogger is stubborn and posts are late, and sometimes I'm just enjoying life and will tune in soon with a scrapbook page to share it with you.

Tuesday, August 23, 2011

Most recent on Sketchsupport

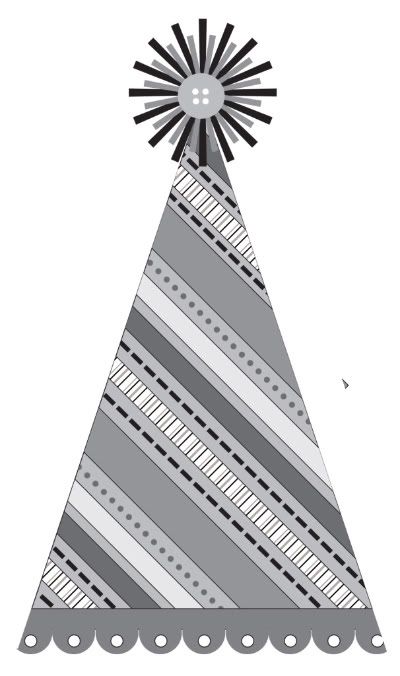
This week and the last I have had a few projects posted on sketchsupport.  The first was made from a birthday hat sketch which I flipped to make a flower bouquet.


And this is what I made:


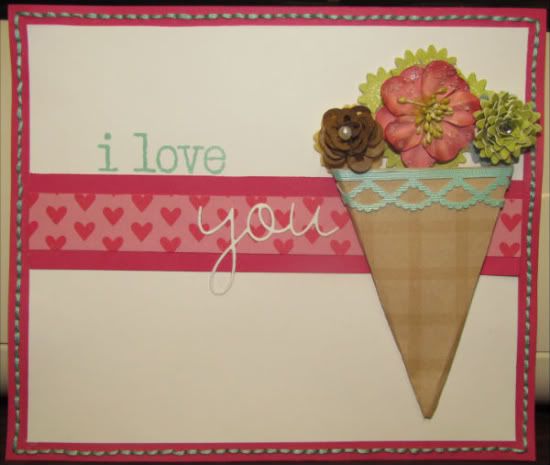
"I Love You" by Amy Roller
Supplies - Patterned paper/Cardstock: unknown, Stampin Up!, Lasting Impressions, Bazzill Shimmer;
Stamps/Dies: Papertrey Ink; Ink: Stampin Up!; Flower: Prima; Border strips: K&Company, Close To My Heart; Felt: Papertrey Ink; Pearl: Close To My Heart; Other: Thread, Rhinestones

I decided to flip the sketch and use it as a bouquet of flowers. I kept the scallop from the bottom and added it to the top border of the bouquet.


I stuck with the shape and made it sort of a pocket for the flowers. The flowers are my version of the "poof" that sits on top of the hat. It's all there just a little rearranged!

To start, I hand cut the triangle shape and made it into a 3-D pocket with the border trim attached. I then cut a pattern and solid strip to add across the front of the project. I put the pocket down on top of this and used a die to cut the "you" out and adhered it down as well. Next, I stamped the "I love" above it.


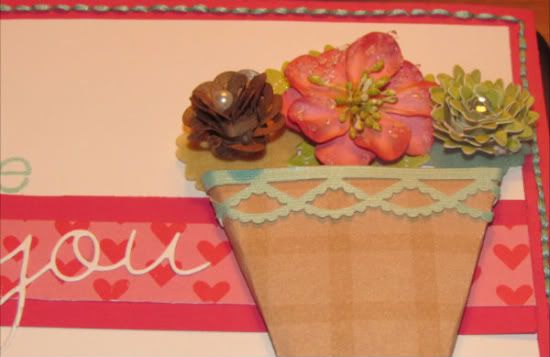
For the flowers I used border strips that I rolled up and held with adhesive. I then "folded" the edges of the strips down to make flowers. I then added a pearl and rhinestone to the handmade flowers. For the last and middle flower, I used a Prima flower with more pieces of the green border strip to make leaves behind the flowers. The two handmade flowers also have a die cut felt flower base.

Last I stitched a border around the base of the whole piece.

I will be putting this in a shadow box frame in my home.

This week is the 1 page sketch:

I made this:
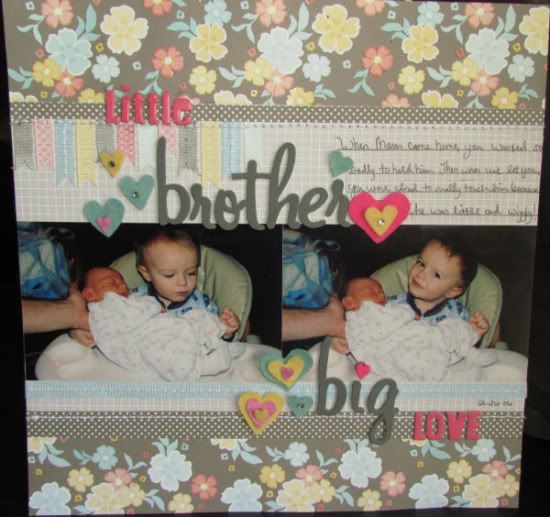
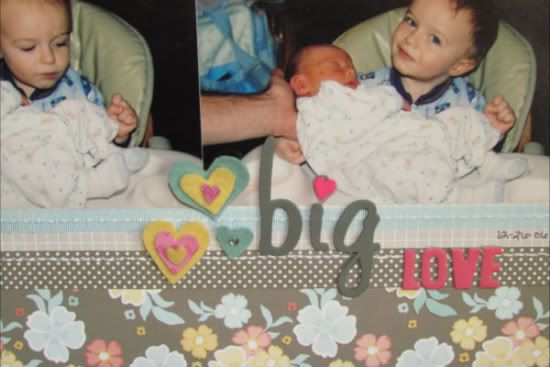
"Little Brother, Big Love" by Amy Roller
Supplies: Patterned paper: American Crafts; Letters: American Crafts, Fancy Pants; Felt: Papertrey Ink; Ribbon: American Crafts, unknown

One of the biggest variations I made to this page was deciding to use a pattern paper for the base. Because I only had two pictures to use, I also left off the three small photos and extended my title to that area. 

It helps draw your eye down and across page just as the photos would have. I followed the rest of the sketch pretty close, but used a ribbon across the bottom in place of the stripe because I didn't have a stripe that matched.

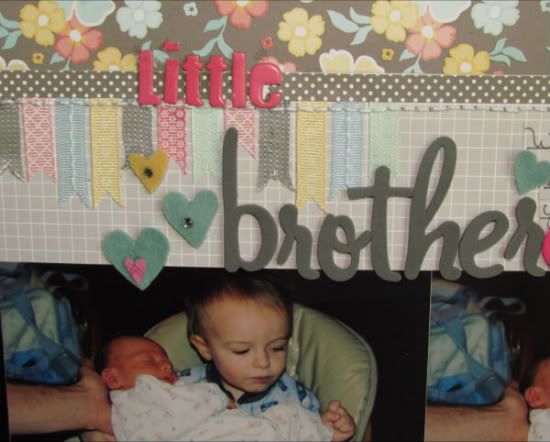
I added a few more ribbon strips in the top left corner to balance out my long title on top.


I just cut varying strips of coordinating ribbon and then cut an upside down "v" on the ends to form the pennant shape. I also hand cut several hearts in different sizes and colors of felt to sprinkle throughout. I topped them off with rhinestones or mini hand cut hearts from patterned paper.

Tuesday, May 17, 2011

Buttons, Buttons, and more Buttons!!

This is the add-on sketch this week over at Sketchsupport and I decided to make mine a LO.  This is what I have this week...
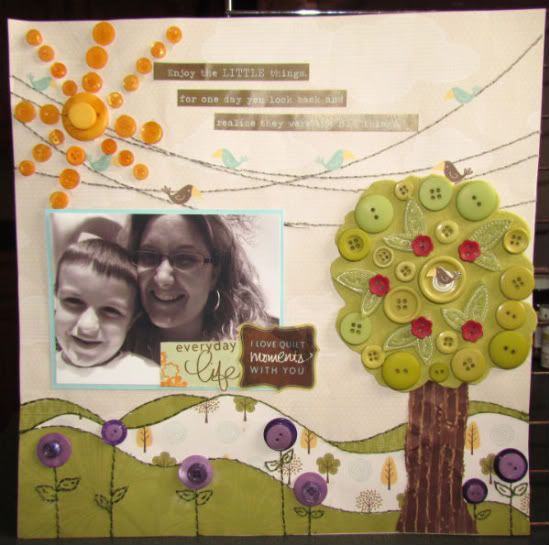
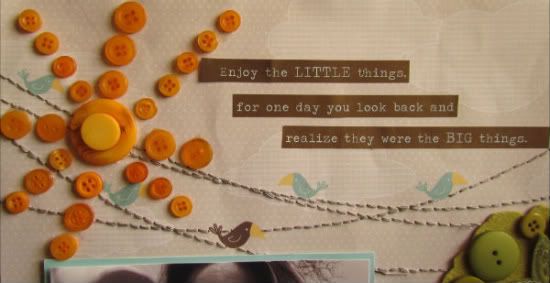
"Enjoy the Little Things..." by Amy Roller
Supplies - Patterned paper: Stampin Up!; Cardstock: Coordinations, Stampin Up!; Buttons: Papertrey Ink, unknown, Scrapbook Generation; Felt Leaves: Stampin Up!; Thread, Sticker Embellishments, Felt: Papertrey Ink; Embossing Folder: Provo Craft, sanding block

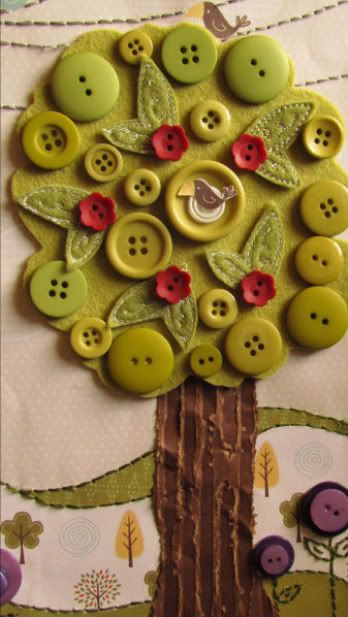
I decided I wanted to make a LO with this add-on, so I made the tree bigger to fit the area. To start off the page, I hand cut a tree top shape out of felt. Then I used different sizes and colors of buttons to fill the shape. I also added felt leaves and little red flower buttons. I used a white lined button in the center of the tree to look like a nest then added a bird cut from the patterned paper.
For the trunk of the tree, I ran cardstock through an embossing folder to add texture and then sanded it down. It is different colors on each side, so that when you sand it you see both colors. I just cut it into a trunk shape.

The paper had an existing power line that the birds sat on and I stitched along it to add more detail. I decided to carry out the button theme and also made a sun out of buttons to help fill the page.
 

 I cut a sticker sentiment into strips and added it to the top of the page.

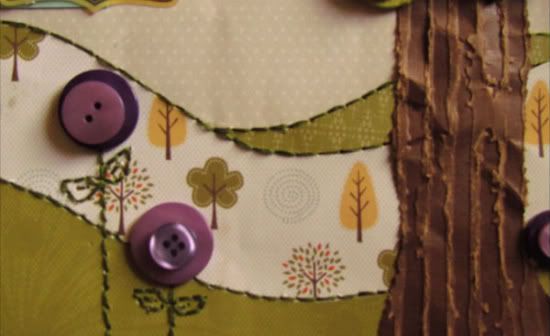
For the bottom of the page, I hand cut "hills" out of patterned papers and then stitched along each one to help them standout.


I then stitched stems for flowers that were also made out of two stacked purple buttons along the bottom of the page.

Last I added a matted photo with 2 sentiment stickers. I love how it turned out! Thanks for stopping by!


Friday, April 29, 2011

add-on sketchs...

Last week on sketchsupport was add-on week and here's what I came up with..(it was an umbrella to start with)
  

"Watermelon" by Amy Roller
Supplies - Pattern paper: Creative Imaginations; Cardstock: Bazzill, Stampin UP!; Embossing folder: Provo Craft; Mini brads: Oriental Trading Co.; Stamps: Close To My Heart; Black pen: American Crafts

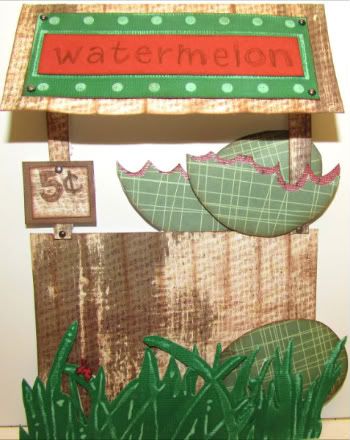
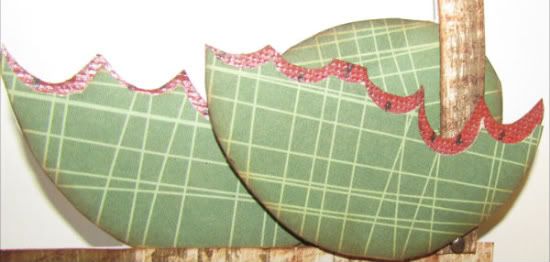
I decided to take the umbrella add-on and make it a watermelon. I made a cute little watermelon stand out of patterned paper.

• I accordion folded the "roof" the give it a 3D feel and overhang.

• I used an embossing folder and cardstock for the grass. I sanded it before I cut out around the embossed part and then added a stamped ladybug.

• I added mini brad for the nails and another embossing folder/stamps for the sign.

• For the watermelons themselves, I just hand cut the shape from patterned paper then used a circle punch and scissors to make the broken bite marks.


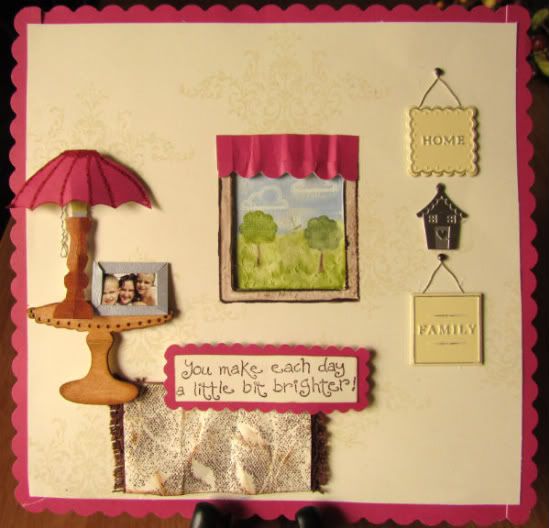
"Home" by Amy Roller
Supplies - Cardstock: Bazzill, Stampin Up!; Stamps: Stampin Up!; Ink/Markers: Stampin
Up! Versamark; Wood Embellishments: House of 3; Patterned paper: Echo Park; Metal Embellishments: Making Memories; Brads: Oriental Trading Co.; Ribbon: unknown

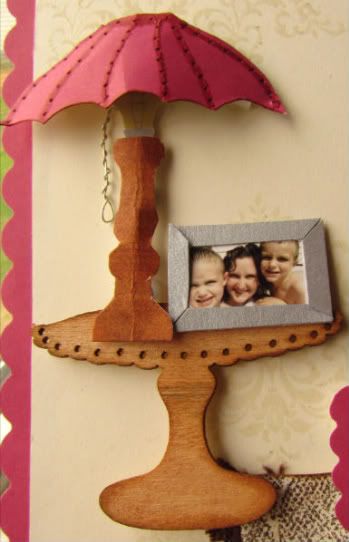
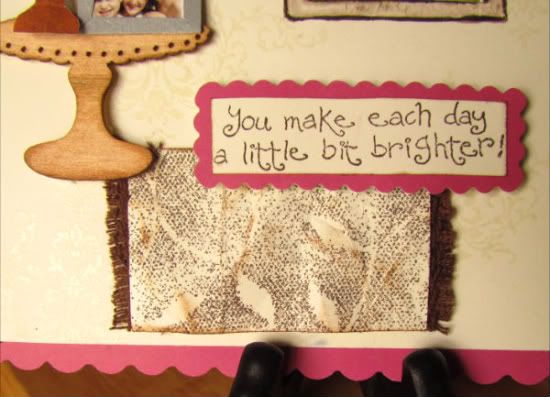
I used the add-on as a lamp shade this time. I just altered the size to fit and hand cut the shape. Then I punched stitching lines for detail on the shade but because it is such a small piece, the holes were likely to rip if I tried to stitch them so I just used a marker and "faux stitched." For the actual lamp I just cut a small strip, fold it vertically and then hand cut the details along the open side. Unfold and you have the finished base.

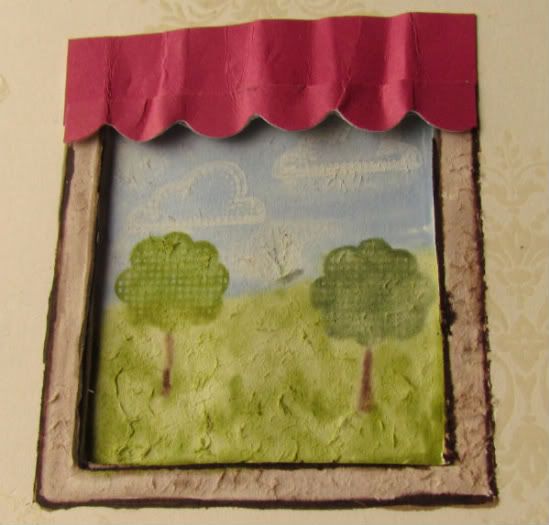
I wanted a view from inside so I added a flourish stamp to the "walls" that I embossed so they would show up better and look like wallpaper. I also added a window with curtains. You can see through the window to an outside view.

 For this I water colored the sky/grass and stamped the trees and clouds.

For the inside I added a small table that is a pre-made wood embellishment that I colored with Glimmer Mist. I then pop dotted the lamp base onto the table and added a light bulb that I hand cut from patterned paper. I also added a pull switch that I made out of wire.
To finish, I added the lampshade with pop dots. I then made a picture frame out of silver paper and used a tiny picture from a picture index sheet. (You can have these printed with your pictures when you develop them.)

The walls and floor needed a little attention as well so I used small metal embellishments as wall art that I "hung" with wire and a brad for the nail. For the floor, I made a rug. I stamped a background stamp and then added twill ribbon to the end that I frayed out beforehand by pulling several strands off after trimming off the edge of it. The last thing was the sentiment, which I stamped and then added a scalloped border to match the scalloped base of the project.

Friday, March 18, 2011

It is cupcake week--oh I mean add-on week over @ Sketchsupport!

This week our add-on is a cupcake and there are plenty of cute ones over at sketchsupport.  There are also several other takes on it that take it in a totally new direction that you will also want to see, so go over and check it out!


This is my card that I made this week using the cupcake..

Sunday, January 23, 2011

Card & Add-on Sketch

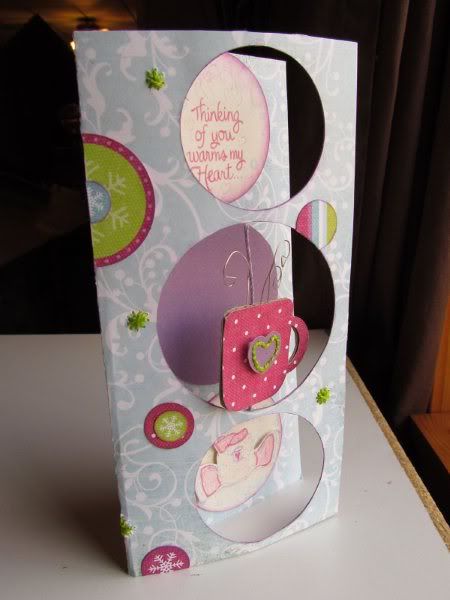
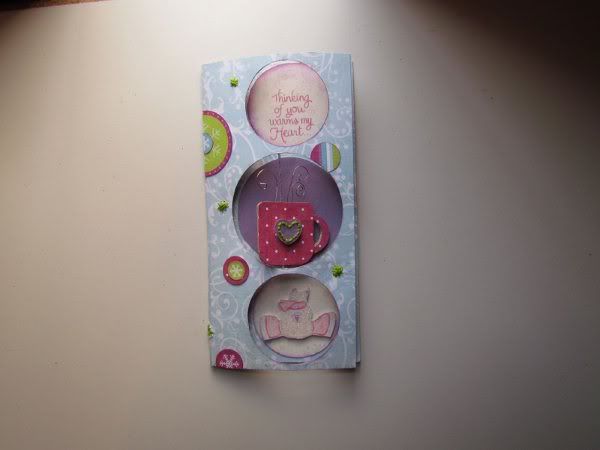
This is my card I made using Allison's card and add-on sketches from Sketchsupport.  To see the actual sketches and other projects using them, go to sketchsupport and use the quick guide on the right or any of the categories listed at the top of each page.
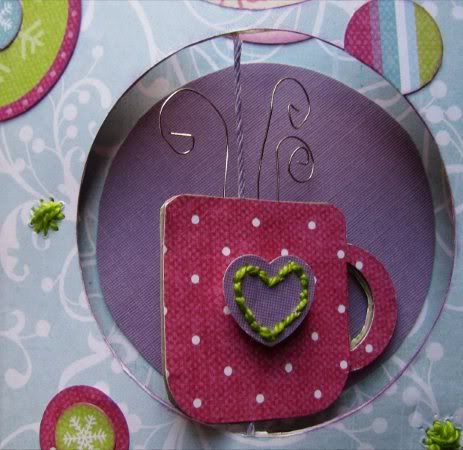
This is the actual add-on embellishment I made.  It Spins!!