Wednesday, September 28, 2011

Cutest Tough Guy EVER!

First..a big shout out to Daddy for taking these awesome pics for me to scrap! I wasn't home and he thought to get the camera..I am slowly training him to think like a scrapper!

This was Mason's first time ever to shoot his bow.  It looks like he did a great job. I love that tough guy-I mean business look he has. So cute! He even hit the target! Way To Go Mason!

Tuesday, September 27, 2011

2 page Birthday LO on Sketchsupport


"Spongebob Birthday Bash" by Amy Roller
Supplies - Patterned Paper: Sandy Lion, Two busy Moms, unknown; Ribbon/Twill: unknown, Jillibean Soup; Cardstock: CTMH and Bazzill; Stickers: Unknown, BoBunny, K&Co; Other: Sharpie marker Sketch:Allison Davis
I followed the sketch fairly close on this one. I didn't have a die cut paper that matched my color palette or theme so i just traced around another one from my stash onto the back of the Spongebob paper I wanted to use and then hand cut it, making my own.

The flap and Spongebob drawing are the other variations I made to the page. I wanted to keep his drawing he did for his Birthday that year and incorporate it into the page so I used it in place of the 5 x 7 pic. This worked well because it's roughly the same size.

I added a sticker and another small photo here as well. I made this area a moveable element with a hinged area that you can lift for more journaling and memorabilia.


Next I put my squares in place along with the 4 x 4 photos. I did add an embellishment in place of one of the pictures on the right side.
It was from the Birthday card I made him that year. I also added another part of the card under the flap on the left side.

I kept with the 4 x 4 pics and squares for the others with exception of one. On the square next to the journaling box I added two small square pics and an embellishment on top of a 4 x 4 square.

This allowed me to add more pictures and follow the theme of the layout with the "KA POW" sticker without really messing up the overall 4 x 4 design.

Because my papers were so themed and specific, I didn't have a coordinating group to pull other patterns from. Instead I used twine and twill ribbons in place of the pattern paper strips and stripe. They also helped me pull in more colors that coordinated with the pictures rather than my main diecut papers.

The overall theme of the layout was lots of animation and movement. I wanted it to have a child-like cartoon feel to it and so there are little "doodles" and very graphic bold faux stitch lines. It's not meant to be exact, which is not my norm, but was definitely more fun and less stressful making! I didn't worry about it all being just right, I had more fun with it. I love it when my actual photos inspire me! I would have NEVER doodled and such on a layout before so this was a teeny step out of my usually very organized box!

Tuesday, September 13, 2011

New card from sketchsupport

Latest card sketch from sketchsupport:
sketch by Allison Davis


"Love You Sweetheart" card by Amy Roller
Supplies - Patterned paper and cardstock: Stampin Up!; Dotted paper: My Mind's Eye; Chipboard heart: Making memories; Stamps: Stampin Up!, unknown

I decided before I started that I was going to use some of my scraps for this card. I dug out some things that I liked and started. I liked the swirl border in place of the stripe and really wanted more of it to show so on a whim I just left off the two end squares. That is another great thing about sketches, you can alter them to fit your papers, your style, or your mood at the moment. While I was changing things, I added a thin strip along the background border on top and bottom.

I added a few small sentiments to the bottom corner and popped up the remaining square in the middle. I added two layered hearts and inked the edges as well. This went together really quickly and I managed to use up some scraps out of my overflowing drawer!

2 sketchsupport layouts..

Here are 2 sketches and the layouts I made from sketchsupport! 
Following sketch by: Allison Davis
This 1st one I followed with a 2 page Layout and here's the details:
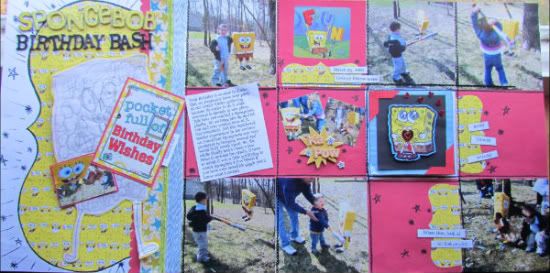
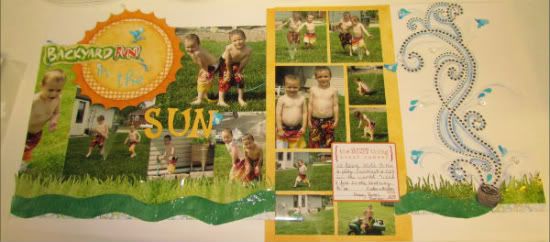
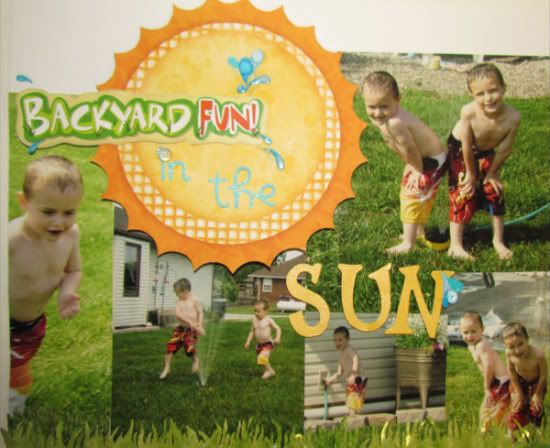
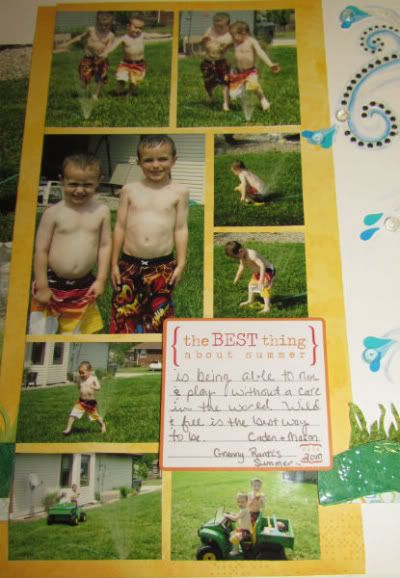
"Backyard Fun in the Sun" by Amy Roller
Supplies - Patterned paper: Bo Bunny, Two Busy Moms; Cardstock: Close to my Heart, Stampin Up!;
Stickers: Karen Foster designs, Creative Memories; water droplets: Hobby Lobby; Liquid glass: Close To My Heart; Cuttlebug, Emboss folder: Provo Craft; Markers: Zig, Stampin Up!; Blending pen: Stampin Up!; Journling Spot: My Little Yellow Bicycle

The main variations for my layout are that I changed the picture sizes and have a total of 13 photos on this page! I also changed the "waves" along the bottom and turned it into grass and a water hose instead. I left off the fish elements along the bottom because I didn't have anything that really fit my changed theme. Instead, I added more detail and texture to the hose.

I started the layout by arranging my pictures on the left side and it just worked out that I could fill the bottom area of the page that only has three small photos in the sketch.
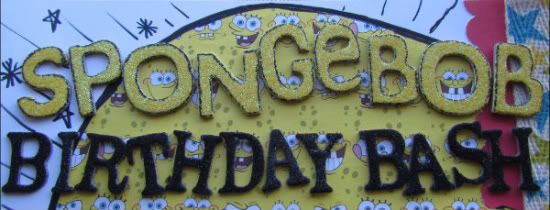
I cut the large sun out of my pattern paper and used it to ground my title. I added in small water sprinkles with 3 -D "droplets" and crystal effects to create a "wet" look.

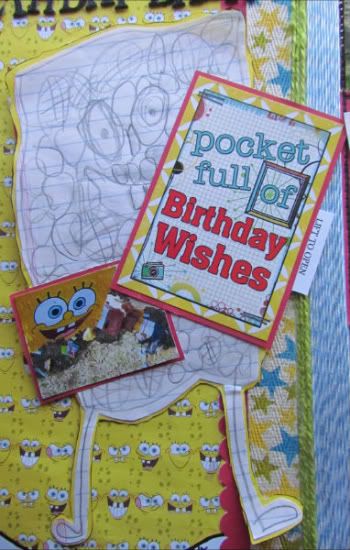
Next I decided to use leftover grass from my cropped photos and cut it to look more like actual grass blades and then placed it along the bottom. This is where the waves in the sketch are.
I then put down my pattern strip that is in place of the stripe in the sketch. I would have preferred the stripe but I didn't have one so I improvised with something close that pulled in all my colors.

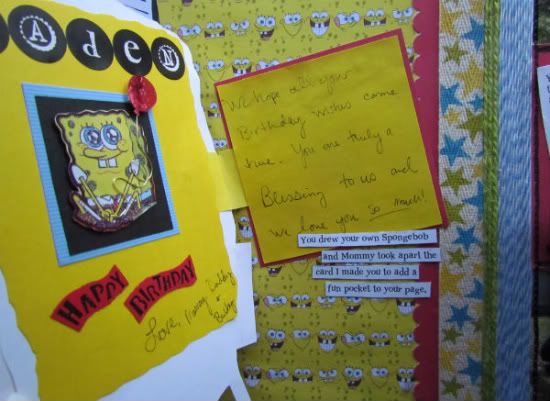
For the right side, I had a ton of small photos so I made a collage with them in the place of the three large photos and decided to leave some background paper showing to help break up the photos because there was so much green throughout them.
Next I hand cut a hose and ran the pieces through an embossing folder with my cuttlebug for the texture of a real hose. Then I covered it with liquid glass which makes it shiny and more 3-D. For the end of the hose I hand drew and cut out a shape like the metal end of a hose and then added a silver gel pen over the whole piece.
Next, I added a large swirl rhinestone and more liquid glass coming off in "splashes". I added more water "droplets" throughout as well as water stickers. Last I traced the flow of water with 3 different colored markers and blended them out with a blender pen to give it a more lifelike see-through look of water.The second layout, I made a 1 page with the same sketch..sorry pics are a little yellow!

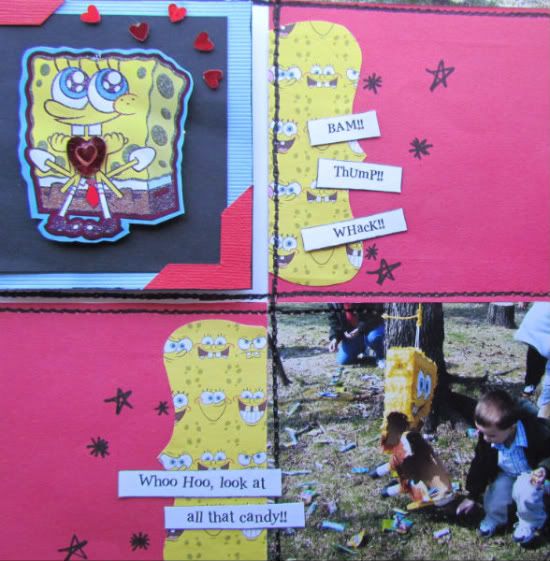
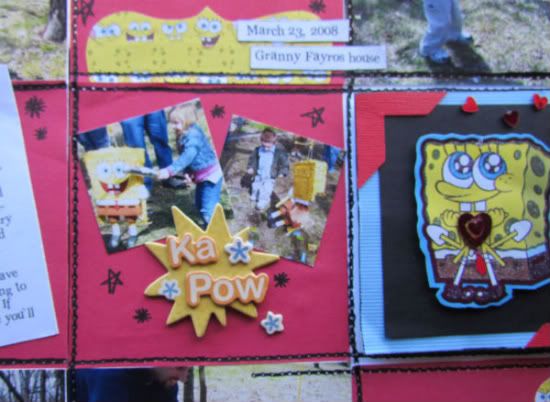
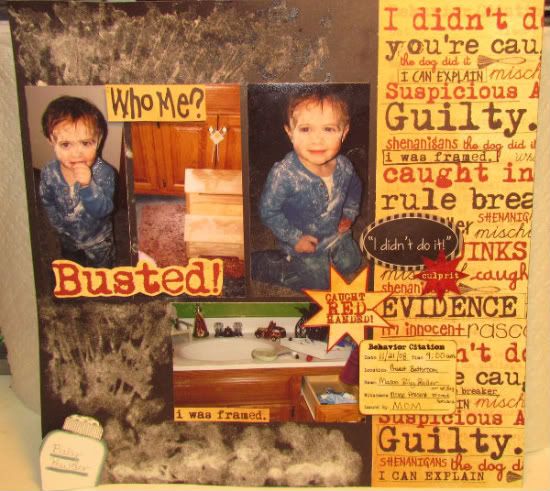
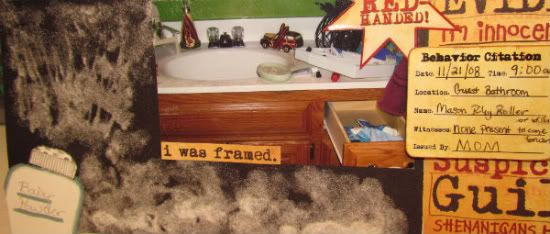
"Busted" by Amy Roller
Supplies - Patterned paper: Creative Imaginations; Cardstock: Close to my Heart; Stickers: Creative Imaginations, Bella Blvd; Flocking: Enchanted Creations

On this layout, I used the left side of the two-page sketch. I flipped the pictures to have the three on top and one on the bottom to leave room for the bottle of baby powder and mess. I sort of kept the swirl element from the right side of the sketch as well and incorporated it into the bottom left corner.
To make the spill of powder, I used my finger to dab glue all over and then applied flocking over the top. Then I added in little embellishments across the page. Some are stickers, some are hand cut from the pattern paper.
This was a real quick layout and I love these pictures even though I wasn't very fond of the mess!

Monday, September 12, 2011

Scrap-a-palooza Layout

This Saturday was yet another awesome Palooza!  We had a great time and I met some great new people to scrap with! (Shout out to Cindy!) Here are a few pics of the only page I can show you..the others are for Sketchsupport so you will have to keeping checking in there to see the rest (wink, wink!)